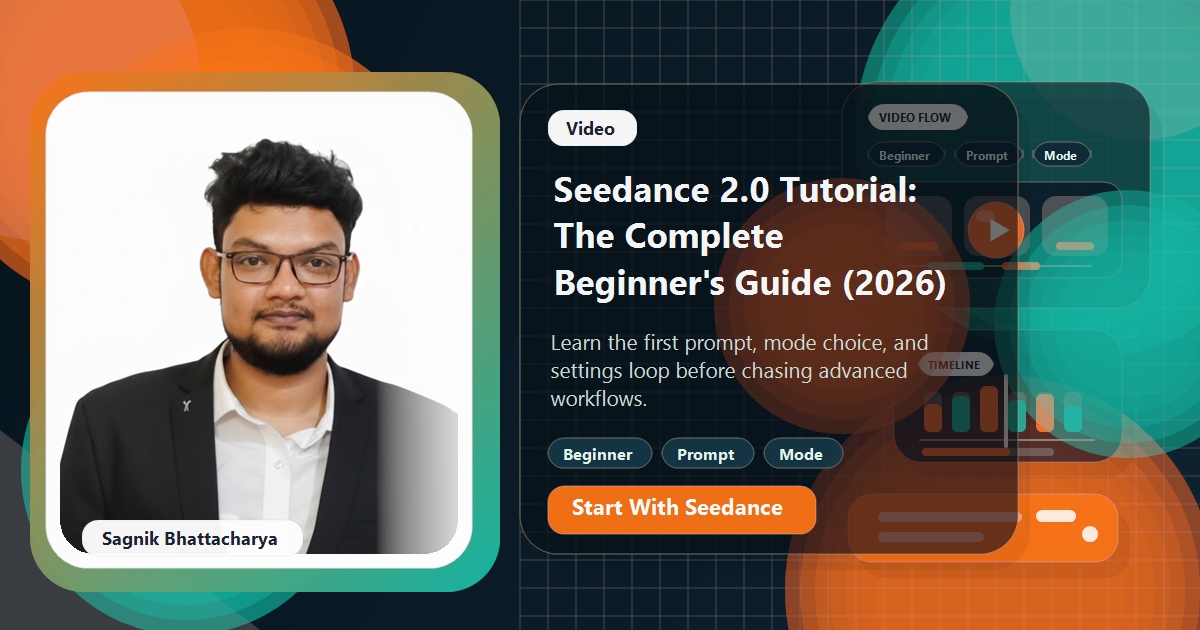
Seedance is ByteDance's AI video generation model, and it is one of the easiest text-to-video tools to start with in 2026 — if you know what to type and what settings to touch. Most beginner guides skip the practical part: how to actually sit in front of the tool, write your first prompt, pick a mode, and not waste credits on clips that come out warped or lifeless.
This tutorial is the one I wish existed when I first tried Seedance. We will go from "what is this tool?" to "here is a 5-second clip I am happy with" in a single sitting. Everything below assumes you have never generated an AI video before.
Quick answer
Sign up on Dreamina, select the Seedance model, upload a reference image or write a 30–60 word prompt covering subject, action, camera movement, style, and setting, leave motion intensity at its default for your first try, and generate a 5-second clip. Review, adjust one thing at a time, and regenerate. That is the whole loop.
- You want a short social clip, animated product shot, or cinematic b-roll in under 20 minutes.
- You are comfortable iterating on prompts rather than expecting the first output to be perfect.
- You do not need long-form narrative video with dialogue, scene cuts, or complex continuity.
What Seedance actually does (and doesn't do)
Seedance takes either a text prompt or a still image and produces a short video — typically 5 seconds, extendable to 10 in most interfaces. It is strong at controllable camera movement, subject motion, stylised looks, and maintaining a consistent frame-to-frame identity for the thing you put in front of it.
What it is not: a replacement for a video editor, a long-form storytelling engine, or a tool for guaranteed photoreal humans. If you want a 30-second talking-head explainer, you stitch multiple 5-second clips together in a separate editor. If you want a two-minute narrative, Seedance is not the tool — and pretending otherwise is why most people give up on AI video in their first session.
Before you write a single prompt, decide what you are trying to produce in the next hour. "One 5-second clip of a product rotating on a wooden table with a slow dolly-in" is a great first-session goal. "My TikTok channel's intro" is not.
Text-to-video vs image-to-video: pick the easier one first
Seedance supports both modes. As a complete beginner you should start with image-to-video, not text-to-video. The reason is control — when the first frame of your clip is an image you already like, you only have to get the motion right. In text-to-video you have to get the subject, the lighting, the style, the framing, and the motion right, all from words.
A typical image-to-video first try: grab a photo of a coffee cup on a wooden table, upload it, type "slow dolly-in toward the cup, steam rising, warm morning light", hit generate. Five seconds later you have a usable b-roll clip. Try the equivalent with pure text and you will spend three attempts just fighting the lighting.
Once you are comfortable steering motion on a known image, graduate to text-to-video. The image-to-video guide goes deeper on this specific mode.
How to access Seedance
As of 2026, the primary way beginners access Seedance is through Dreamina, ByteDance's creative platform. It has the cleanest UI, a free tier to learn on, and supports both text-to-video and image-to-video modes in one place. Alternatives include third-party API providers for developers and a handful of integrated creative suites.
If you have never touched any of these, work through the Seedance setup guide first — it covers account creation, verifying your email, picking a starting plan, and landing on the right page inside Dreamina. This tutorial assumes you are already signed in and looking at the video generation interface.
Your first video, step by step
Here is the exact sequence I walk students through the first time they touch Seedance. Do these in order, do not skip.
- Pick a reference image. A simple photo — a coffee cup, a product shot, a landscape, a character portrait. Avoid busy backgrounds with five things competing for attention.
- Open Seedance in image-to-video mode. Upload the image. Most interfaces show a preview and a prompt box below it.
- Write a 30–60 word prompt covering five things: what the subject is, what action it's doing, how the camera moves, what the style is, and where it's set. Example: "Close-up of a ceramic coffee cup on a wooden table, steam rising gently, camera slowly dollies in, warm golden morning light, soft focus background, cinematic, 24fps film look."
- Leave settings at defaults. Duration 5 seconds, motion intensity medium, aspect ratio 16:9. Resist the urge to tune anything on your first run — you need a baseline to compare against.
- Hit generate and wait. Typical time is 30–90 seconds.
- Watch the clip three times. First pass for overall impression. Second pass for motion — is the camera doing what you asked? Third pass for artifacts — any warping, flickering, weird hands, dissolving edges?
- Change one thing and regenerate. Never change two variables at once on a beginner run. If the camera is too fast, lower motion intensity. If the steam is missing, rewrite the prompt to emphasise it. One change per iteration.
You should get something you like within three iterations. If you are on attempt five and still unhappy, your starting image or starting prompt is the problem — go back to step 1 with a simpler subject.
Writing Seedance prompts that actually work
The biggest single thing that separates clips that look great from clips that look like slop is prompt structure. Seedance responds well to prompts that cover five elements in a rough order:
- Subject — what is in the shot (a ceramic coffee cup, a red sports car, a woman in a yellow raincoat)
- Action — what the subject is doing (steam rising, wheels turning, walking through a doorway)
- Camera movement — how the virtual camera behaves (slow dolly-in, orbit around subject, static locked-off shot)
- Style — the visual treatment (cinematic film look, anime, watercolour, 90s VHS, photoreal)
- Setting — the environment and lighting (warm morning kitchen, neon-lit Tokyo street at night, overcast beach)
Skip any of these and Seedance will invent something — often not what you want. Put two contradictory things in one prompt (e.g. "static shot" and "crane down") and it will pick one at random. The better Seedance prompts guide has the patterns I use every day; read it after your first successful clip.
Settings, explained in plain English
Seedance's settings panel is small but confusing if nobody tells you what each slider does. Here is the short version.
| Setting | What it does | Beginner default |
|---|---|---|
| Duration | How long the clip is (5s or 10s in most tiers) | 5 seconds |
| Aspect ratio | 16:9 for YouTube/desktop, 9:16 for Reels/Shorts/TikTok, 1:1 for Instagram feed | Match your platform |
| Resolution | Output quality — higher uses more credits and takes longer | Start at 720p |
| Motion intensity | How strongly the model animates the scene — low is subtle, high is dramatic | Medium |
| Seed | A random number controlling variation — fix it to get reproducible outputs | Leave random |
Two of these deserve their own posts because they change results the most: resolution and aspect ratio, and motion intensity. Read those after you have a working baseline clip — they will double the quality of everything you make afterwards.
How to iterate when your first clip is bad
Your first clip will probably not be perfect, and that is fine. The iteration loop is where beginners either get good fast or give up. Here is the rule: change one variable at a time, regenerate, compare.
When something looks wrong, diagnose it before you touch the prompt. Is the problem the camera (wrong direction, too fast, too slow)? The subject (warping, wrong pose, wrong identity)? The style (too cartoonish, too flat, wrong era)? The lighting? Once you know which of those is off, change only the corresponding part of the prompt. Do not rewrite the whole thing from scratch.
If the clip has artifacts — flickering edges, warped hands, dissolving backgrounds — the fix is usually lower motion intensity first, simpler subject second, better reference image third. The fix bad motion guide has a full decision tree for this.
Common beginner mistakes
| Symptom | Likely cause | Fix |
|---|---|---|
| Generic, boring clip | Prompt under 10 words | Add subject detail, camera, and style |
| Subject morphs or warps | Motion intensity too high | Lower one step and regenerate |
| Camera does nothing | No camera verb in prompt | Add "slow dolly-in", "orbit", "crane down" |
| Style looks wrong | Reference image dominates | Either match style in prompt or change image |
| Clip contradicts itself | Prompt has two conflicting moves | Pick one motion; remove the other |
| Hands, faces, text broken | Unavoidable at current model quality | Frame shot to hide them, or fix in edit |
Worked example: a 15-second YouTube Short in 20 minutes
Here is a concrete end-to-end run you can copy. Goal: a 15-second Short of a coffee product getting introduced to the viewer, in portrait 9:16, for a hypothetical cafe's social channel.
- Plan 3 clips, each 5 seconds. Clip 1: hero shot of the cup. Clip 2: steam rising close-up. Clip 3: pull-back revealing the cafe counter.
- Clip 1 prompt (image-to-video, reference = product photo): "Hero shot of a ceramic coffee cup on a wooden counter, slow dolly-in, warm morning light streaming from the left, shallow depth of field, cinematic 24fps look." Aspect 9:16, duration 5s, motion medium. Generate.
- Clip 2 prompt (image-to-video, reference = tight crop of cup rim): "Extreme close-up of steam rising from a dark espresso surface, camera static, soft rim light, slow motion, gentle swirling motion in the steam." Motion low.
- Clip 3 prompt (image-to-video, reference = wider counter shot): "Slow pull-back from a coffee cup on a wooden counter, revealing a modern cafe interior with hanging Edison bulbs and warm wood, cinematic, soft golden hour light." Motion medium-high.
- Regenerate each once if the first try has artifacts. Budget: two tries per clip, six tries total.
- Stitch in any editor (CapCut, Premiere, DaVinci Resolve) — 5 + 5 + 5 = 15 seconds.
Total time: 15–20 minutes for someone who has never done this before. That is what Seedance is best at — short high-quality clips you assemble elsewhere, not a single continuous piece.
When Seedance isn't the right tool
Be honest with yourself about when to reach for a different tool. Seedance is the wrong pick when you need any of these:
- Dialogue-driven talking-head video with perfect lip sync — use a dedicated avatar tool.
- Long unbroken continuous shots over 10 seconds — stitch multiple Seedance clips, or use a different model.
- Photoreal human faces doing complex actions — hands and faces are still fragile at 5-second length.
- Text-on-screen, titles, or legible signage — generate the clip clean and add text in your editor.
For comparisons with nearby tools, see Seedance vs Kling, Seedance vs Sora 2, and Seedance vs Veo 3. Each has a different sweet spot and it is worth knowing before you commit credits to a project.
How to extend this into a real workflow
The biggest leverage beginners miss is treating Seedance as one step inside a pipeline instead of a one-shot magic box. A real creator workflow usually looks like: gather reference images → generate 3–6 short Seedance clips → grade them for colour match → stitch with B-roll and music in an editor → export for the target platform.
Once that pipeline is repeatable, the per-video time drops from "a whole afternoon" to "30 focused minutes" and the quality goes up because you are no longer asking Seedance to solve the whole problem alone. The follow-on guides below are the natural next steps — read them in order and you will be making publishable clips by the end of the week.
- Start with How to Set Up Seedance if you have not signed up yet.
- Go next to Seedance Pricing, Credits, and Free Tier so you know how many tries a project will cost.
- Then read How to Write Better Prompts for Seedance — the single highest-leverage skill in this whole workflow.
- Finish with Using Seedance in Dreamina for platform-specific tips.
Also compare Gemini Omni for beginner AI video
If you are choosing a first AI video workflow, compare this Seedance walkthrough with the Gemini Omni beginner tutorial and the Gemini Omni vs Veo vs Seedance vs Sora comparison.
Related guides on this site
These guides cover Seedance setup, prompting, and specific use cases so you can move from beginner to comfortable in a weekend.